

My customized Dippold pinhole camera
Lets back up a little, years ago I had made the Dirkon which is another paper camera and it was really fun to put together. I can't remember why but I didn't have the best luck with it image wise, if I remember correctly the photos came out really blurry. I'm sure that was my fault in either user error or a construction error so don't write off the Dirkon prematurely. My Dirkon still resides in my display case because I did put a lot of time into building it. Given my prior issues and the desire to try something new I thought I'd try the Dippold version instead, it was quite easy to make and I even took it one step further by designing my own "skin" which will hopefully soon be available here or here (its the Pinstamatic skin).
Update: For the time being I'm hosting the skin on my dropbox account, grab yours here. Note: It was hard to fit it all on one sheet so some of the tabs to wrap around and glue are a bit small, the extra "leather" is provided so you can extend the tabs if needed.
One of the most crucial aspects to any pinhole camera is the pinhole itself. I made my own from brass shim stock and a pin. You'll need a very sharp pin and some fine grit sandpaper, 400 or higher should do. For my pin I used a long and narrow bulletin board pushpin (not the short fat style). There are various techniques online but here is what I found worked best for creating very tiny pinholes (I managed to get as small as a 0.14mm pinhole). The trick is you don't actually push all the way through, you press gently and essentially only form a tiny sharp little dent. Then you flip it over and sand the little bump away, flip it over and repeat until you finally break through.This method may be a bit tedious but its the only way I've found to get a very small hole that is very round and free of burrs.
Another solution for those less inclined to DIY is to purchase electron microscope aperture grids which are extremely precise and come in a variety of sizes (listed in microns). Here's a site that stocks them (you'll want the single hole version) but they come in a pack of 100 for ~$26. The Dippold design needs 200 micron apertures and the Dirkon needs 300 micron. Get a few friends and split an order and have enough to last you a lifetime :) I've yet to try these so if anyone does let me know in the comments section and post a link to your pics!
Measuring pinholes that are down to 0.2mm is a bit tricky. Luckily you can get a decent enough measurement by photographing your pinhole beside a ruler using any decent point & shoot camera in macro mode. Once you have the image, crop from the center of each of the mm markings on either side of your pinhole. Next use the measurement tool in either Photoshop or GIMP to determine how many pixels between mm markings and how many pixels across your pinhole is, divide the pinhole width in pixels by the overall width and there is your size in mm.

This pinhole worked out to about 0.32mm
As I wrote the above I realized that I had made a mistake with my pinhole size, initially I planned on making the Dirkon which required a 0.3mm pinhole so that's the size I made them. Later, due to time constraints, I opted to make the Dippold instead which is a lot simpler in its construction but needed 0.2mm pinholes. I'm not sure how much of a difference this made in the final image quality but I might have been able to get a bit sharper images had I used 0.2mm pinholes.
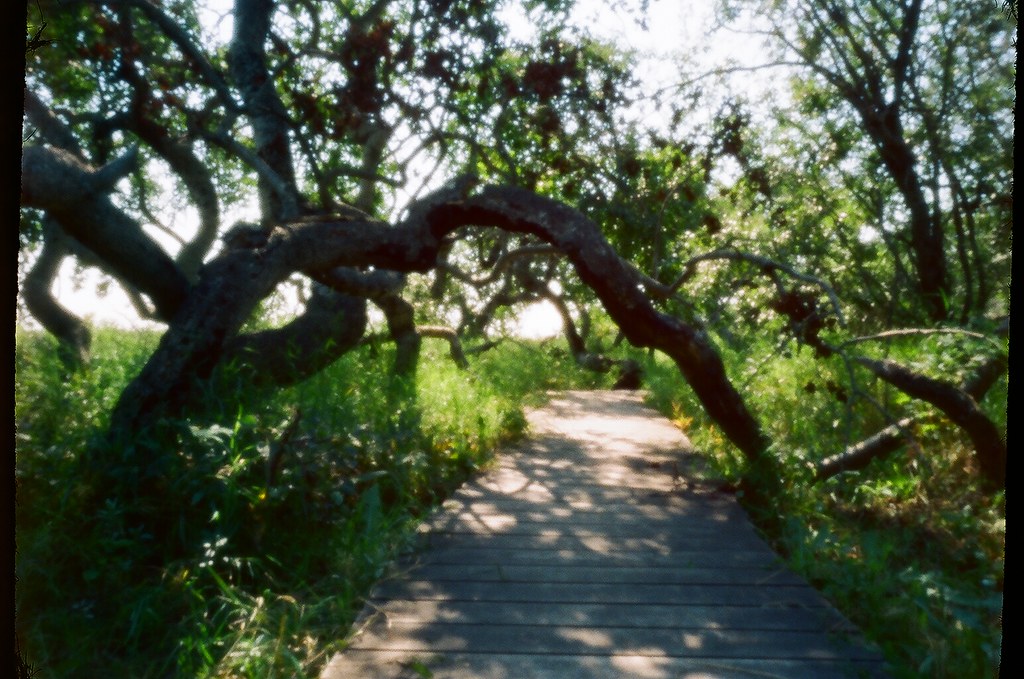
A pinhole image of the crooked trees near Hafford Saskatchewan (~3-4 second exposure, ISO400).
Enough about construction, more about the actual shoot...
With the last weekend of my holidays approaching I realized if I didn't squeeze a photoshoot in soon I wasn't going to get a chance. My last post was about newly IR converted Canon 10D from lifepixel.com, aside from a quick "does this really work" shoot I hadn't had time to play with it. I texted a friend quickly to see if she was down for a road trip later in the week and the plans were laid. Initially when I'd made the two pinhole cameras for world pinhole day the second one was intended for her but both of our lives quickly became insanely busy so the sat unused.
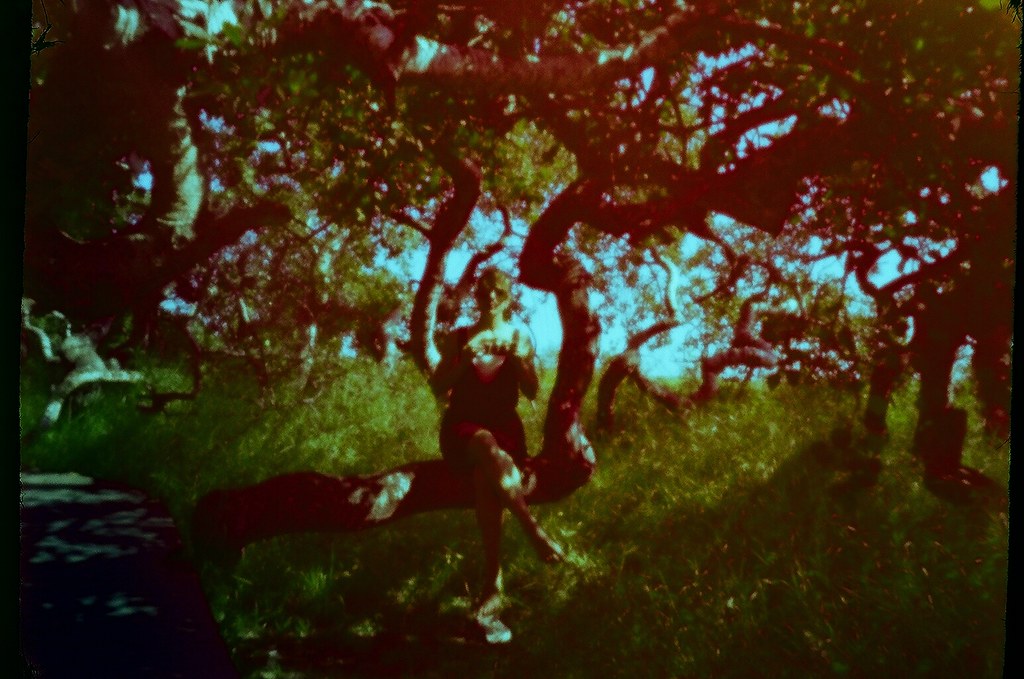
My SK roadtrip buddy :)
One addition I'd made to the Dippold was to glue a 1/4 nut onto the bottom for attaching a tripod. My fellow pinholer however decided she wanted to use trees or the ground to brace her shots so we removed her mount. Without the tripod her results were a little more abstract but that's what pinhole is all about. For most people pinhole is about having fun and being artistic, not tack-sharp images and precision (unless by chance you have one of these).

A shot of me setting up for the first image in this post. Photo by Jackie Kripki
The trip was really fun, met some cool people and saw some interesting stuff along the way. My next post will have more pics from these sweet surreal locations and in infrared!
1 comment:
wow so cool! I love when people are obviously really into something. Very interesting.
Post a Comment