Tuesday, April 28, 2015

A 3D Printer for the Photographer


It's been awhile since my last post, life's been busy what can I say. Over the holidays I picked myself up a 3D printer (Merry Christmas to ME!) and have been having a blast with it. I've always been a tinkerer, always doing DIY stuff and fabricating dodads and thingamagigs I needed here and there. Now that I have a 3D printer this has opened up a whole world of possibilities that I never would have imagined. After much research I settled on the Printrbot Simple Metal and I opted for the kit version that I had to assemble myself. The kit version is a bit cheaper ($539 USD at the time) but I didn't choose it purely for the discount, from what I read online it's great to build it yourself so that if or when it breaks you know how to fix it.

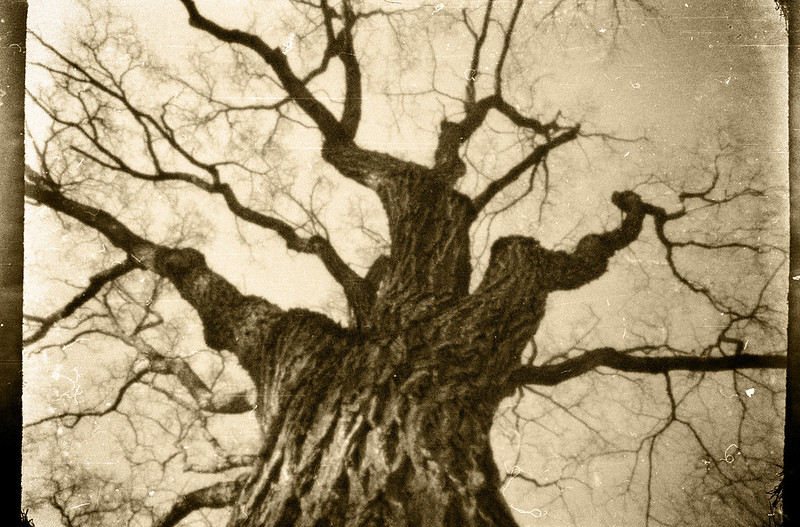
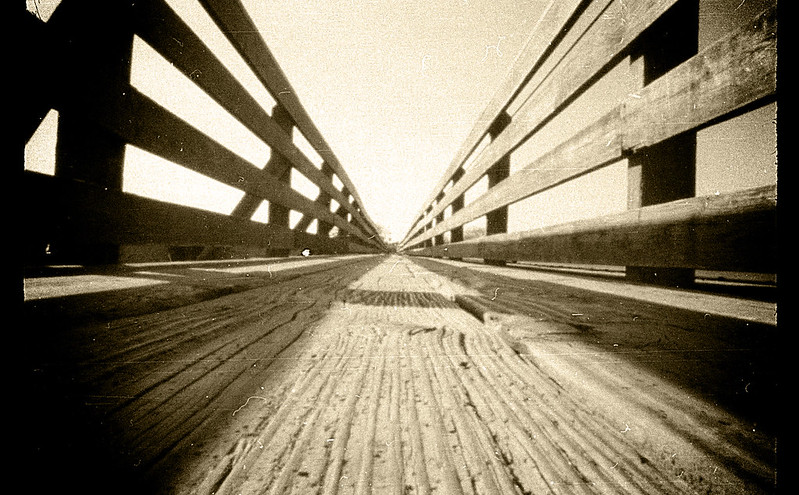
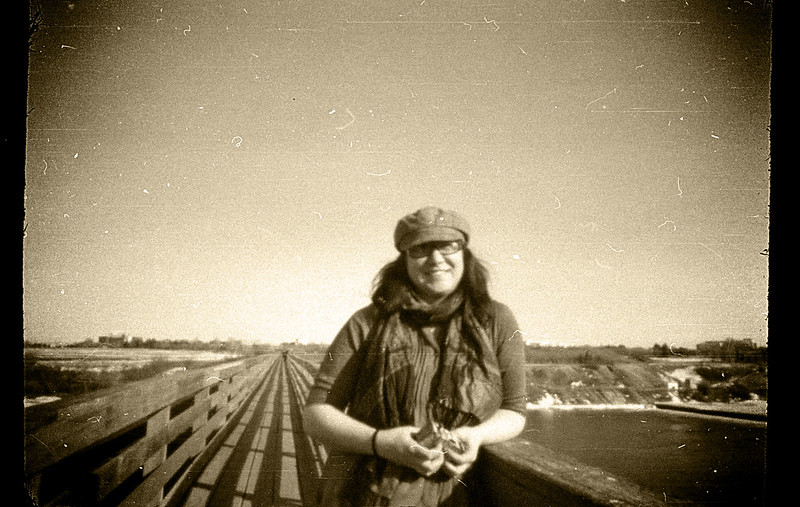
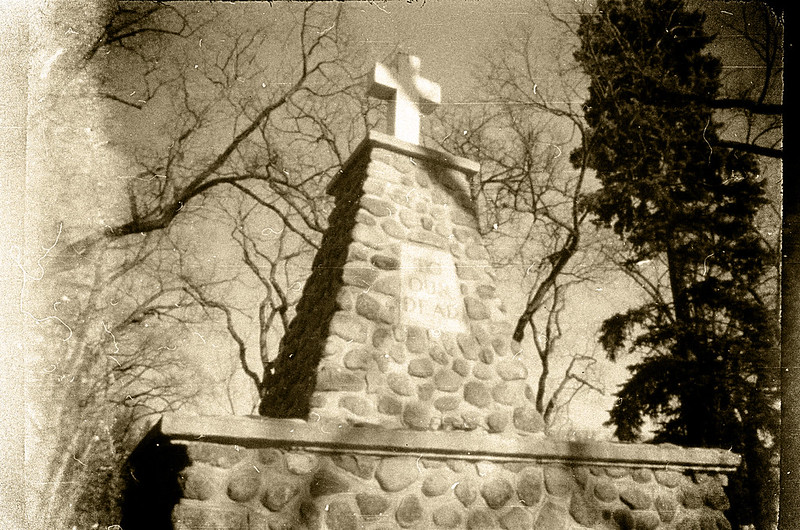
My latest creation is the "PLAyPin" which is a 3D printed medium format pinhole camera, the name is a bad pun I'll admit, the PLA is short for Poly Lactic Acid which is the type of plastic filament most 3D printers use. I wanted to design my own partly just because I can :) and partly because the other designs out there (notably the P6x6 and the TerraPin) require very long print times. That's not to say their designs weren't fantastic, I think they're incredible. For my design I wanted to use the least amount of plastic as I could and I wanted to keep the design modular so that I could print the camera in steps, the longest of which takes 3.5hours and that is for the main body of the camera.


I've shared my design on thingiverse which if you have a 3D printer you'll already know of, it is a site where people post their designs so that other people can download and print them. Depending on the creative commons license you can often remix the design by making improvements or customizations as you see fit.

The great thing about 3d printing is a fast cycle between concept and a physical object, once I had my first print in hand I was able to see some areas of improvement and quickly implement them. Each part on this camera was thought out and has a function.

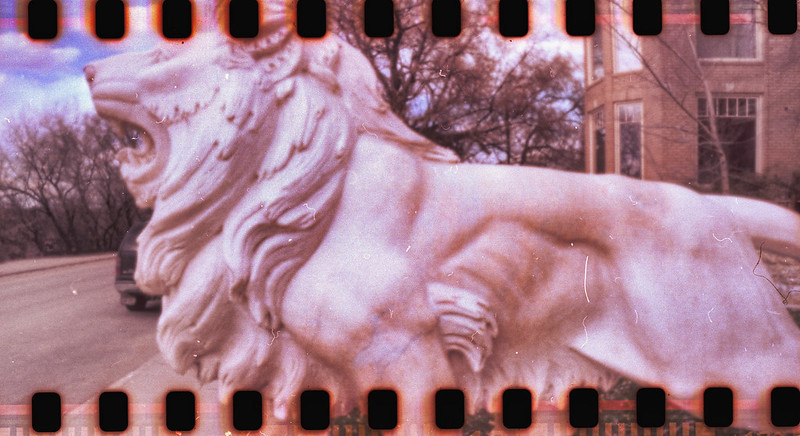
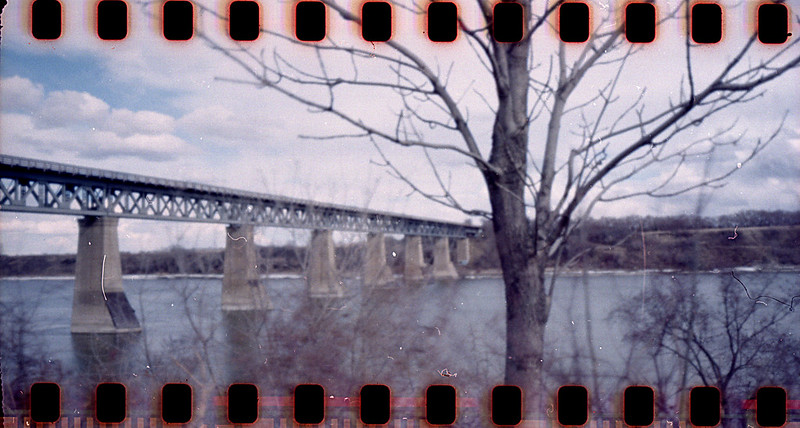
One thingiverse user posted these great adapters for shooting 35mm film in 120 cameras so for my test roll I shot 35mm since it's a lot cheaper :)
10 Colour

12 Colour

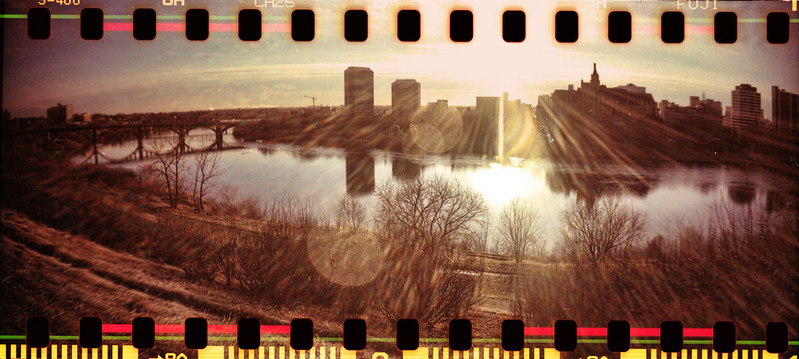
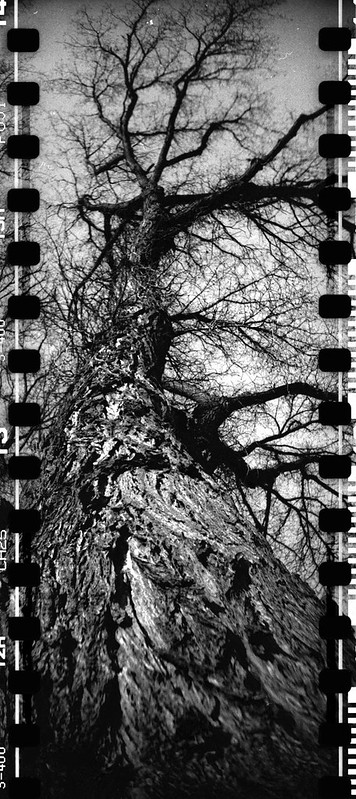
I scanned the roll using the Lomo Digitaliza which enabled my to preserve the sprocket holes. I was really happy with the results, probably some of my best pinhole shots to date as far as clarity goes. The pinhole I was using was actually a 300micron aperture for an electron scanning microscope, I purchased a bunch of these for $1 each from a guy on Flickr. The only tricky part is the apertures are in tiny copper discs that are only 3mm across so mounting them can be difficult. I should probably make a separate post at some point describing my process.

The PLAyPin is meant to shoot 120 film so it required a viewing window on the back to allow you to see the film numbers on the paper back. To accomplish this I picked up a sample pack of Lee filter gels and used the #26 red. While I did incorporate a nifty hinged window cover I still put black gaffers tape over the window when shooting 35mm just to be safe.

I have a few other photography related 3D printed items I've been working on and I'll try and post them soon.

Cheers

Wednesday, October 1, 2014

Photography and lighting teaches you a lot about form and shape

 "Light makes photography. Embrace light. Admire it. Love it. But above all, know light. Know it for all you are worth, and you will know the key to photography." ~George Eastman Kodak

"And if I were asked to choose one word which holds the key to my work I would select ‘light’ – for light is my language, and it is international, readily understood by any person of any race." ~Yousuf Karsh

I apologize in advance but this post is going to stray from photography just a little bit. George Eastman was wrong, not only will you know the key to photography but you will know the key to representational art. Yousuf Karsh an amazing portrait photographer understood this too and took to using stage lighting equipment to artificially light his subjects.

A few years back I picked up a better graphics tablet, an Intuos 4, my old Wacom Saphire was very old and I rarely used it at all except for the odd photo-retouching when I had tricky masking to do. I never used the graphics tablet to draw. I picked up the Intuos mainly because it had the buttons on it and I need to hit "undo" A LOT :)

Soon after getting the tablet I decided to try drawing with it because at this level of tablet not only did it have pressure sensitivity but also tilt and rotation. I grabbed one of the photos I had taken to use as reference and before I knew it I had a half decent sketch from it. This really surprised me because the last time I'd attempted a portrait or really any "traditional" drawing was in high school and the results were not very good.

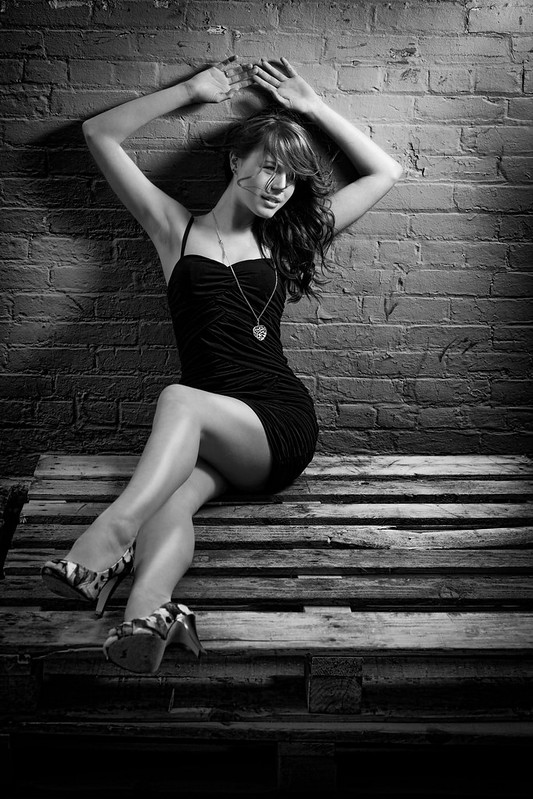
IMG_9167_Edit_BW

Not exceptional but way better than I honestly expected, I actually kept looking at it thinking "where did that come from?". After thinking about it I realized that from years of doing photography, learning lighting, doing retouching, I'd come to understand form and light much better.

Since then I've been getting into drawing and painting, it's fun in the way photography used to be "more" fun when everything was new and there was so much to learn. Don't get me wrong, I still love photography and I am still learning everyday with that, but I reached a professional level with photography, with drawing and painting it's pure hobby at this point and I'm not doing it for money. As I've been getting more into it I've moved away from the Intuos line and up to the Cintiq (which I mentally justified as also being for my photography too :), I may do a post all about those later, they may be pricey but they are so worth it!

Ok back on topic, another aspect in common between photography and drawing/painting is composition. I like to think I have a good eye when it comes to photography and some of that makes it through to drawing, but not always. I'm finding myself doing a drawing and then in the end cropping it, cropping away parts that took a decent amount of time to make! It is reminding me of when I first started doing photography, I'd wind up cropping a lot in the edit suite, I made a point to get better at that and do as much "in camera" as possible so as not to waste image resolution. Same principles here except instead of wasting resolution (which you are if it's raster digital artwork) you are wasting time instead. If you're working with traditional media like a canvas I doubt artists start out doing a 3x4 foot canvas only to crop it down later to a 2x3 :)

One program I've been using a lot recently is called Mischief (www.madewithmischief.com), it's not super complicated like say Corel Painter, which is also a great program but you can spend hours or days in the menus tweaking brushes. No Mischief is almost beautifully simple and lets you focus more on the drawing. It's also an anomaly, it is some crazy hybrid between raster and vector so it has an infinite canvas. You could for example draw a portrait, zoom into the white reflection on the eyeball and then draw a whole new scene. I'm not affiliated with the makers at all, just a happy customer.

Here's some other work I've done, Mischief allows you to playback brushstrokes so I've done some timelapse videos as well.

I'll leave off by saying this, if you're a photographer and you haven't ever drawn or painted, you might want to try it or try it again if it's been years because who knows what your brain has absorbed during all those hours behind the lens :)


TLR Tree Timelapse Painting with Mischief from James Hildebrandt on Vimeo.


Drawing Clare with Mischief from James Hildebrandt on Vimeo.


Portrait Drawing with Mischief from James Hildebrandt on Vimeo.


Friday, August 15, 2014

Do you Lomo?

01
Me and work buddies having a beer after work - Shot with the Lomo 360 Spinner

Back around 2005 I discovered the Holga and have been a fan of the "Lomo" movement ever since. It seems that now the term Lomo isn't just about cameras made by Lomo but is more about the idea that photography should be fun. "Lomography" should have an element of mystery via not knowing if you're going to have light leaks, it has vignetting, and somewhere along the lines even a certain type of colour treatment has been associated with Lomo.

While at a local camera store my girlfriend noticed that they had a whole display dedicated to Lomo and that nearly everything on it was on sale. She decided it was time to snap up her first Holga, I decided to pick up a Lomokino. This was the start of a slippery slope :) I then picked up a Sprocket Rocket and later a 360 spinner.


First off I'll talk about the Lomokino, it's a 35mm video camera! It takes and slices a regular 35mm frame into 8 strips and you crank the camera by hand. You only get around 30 sec using a standard 24 exposure roll depending on how fast you crank. It takes some work afterwards to make it a video, you have to scan the prints or negatives then crop each frame and finally use a video editing program to put it altogether, but that just makes it all the more fun :) Quick tip: I found a quick and dirty way is to name the files sequentially as you crop them (image 001 image002 etc) then open them as an image sequence in Photoshop. You can then choose how many frames per second you want the video to be. It's not as full featured as Premiere but if you're coming from a photography background it'll be easier to apply effects.

The lovely lady featured is Deanna, I've worked with her few times before and she is fantastic, she'll be in an upcoming post as well.

Example of a negative scan from a Lomokino roll


 Next up is the Sprocket Rocket, a relatively simple camera that takes extra wide photos and exposes the film right to the edge. Two aperture settings and a single shutter speed, much like a Holga in that regard.

 Sprocket Rocket
 
To take advantage of the sprocket holes though you need to be able to scan right to the edge of the negative, not an easy task with a normal home scanner. I've yet to come across a lab that will do it either. Luckily there is the Digitaliza negative holder, this was also on sale at the same camera shop but they had to order it in from another store for me. I must say it works like a dream, I was able to use it with my Canon Canoscan 8400F without any issues.
 
Digitaliza Negative Holder 
 
Here are a few shots I got with the Sprocket Rocket:

03
Sprocket Rocket - Fuji Colour ISO400


04 bw

Sprocket Rocket - Fuji Colour ISO400 - Converted to BW in post

Last but not least is one of the most unique and fun cameras I've ever shot, the 360 Spinner!


You simply hold your arm out, pull the string, and the camera spins completely around and actually a little past. It's odd in that there is no shutter, there is only a small narrow slit in the camera which is constantly open, you need to slide the switch into a wind position to close it. This has cost me a few exposures because it still behaves normally and spins but it doesn't expose anything, just thought I'd point this out so hopefully others don't waste precious film :) Speaking of precious film, you only get about 4-5 shots per standard 24exp roll if I remember correctly. When taking it in for development make sure you specify DO NOT CUT NEGATIVES! Same goes for the Sprocket Rocket.

You get a lot of weird looks from people using this camera too :) All in all though it makes for some of the coolest group photos ever as you can see in the first shot of this post.

02 Deanna takes a 360 Selfie while out on a modeling shoot with me.

06 CP
The Delta Bessborough as seen by a tilted Lomo 360

If you tilt the camera so that it's not spinning parallel to the ground you can get some interesting effects, this reminds me of the movie Inception!

All in all I think it's amazing that there are new 35mm cameras coming out still and ones that are as inventive as the Lomokino or the 360 Spinner, film isn't dead quite yet, hopefully the hipsters keep it alive a bit longer.

Thursday, August 14, 2014

DSLR Video - The Art Of The Mug


I'm going to sneak in a "current" post as I catch up on other posts. As I mentioned before I changed jobs last year and now work for a video production company. Since starting there I began to invest in a bit of video gear and also have been learning a lot about shooting video. I think having a strong knowledge base in photography is extremely helpful since video is really just a series of stills.

Recently my girlfriend who works at the same company picked up a sideline job to create a promotional video for a local potter Ken Wilkinson along with a short bio video. She then enlisted me as her camera person :) Funding for the video was provided in part by Creative Sask, they offer grants for artists to help promote themselves and to travel to other markets.

Nowadays with the mass manufacturing done around the world for stupendously cheap prices it becomes harder to expect people to pay a bit more for something that is hand made by an artisan and produced in lower quantities. This promotional video is intended to show the process of how a mug is created, how it is being formed by a human being with both aesthetic and functional properties in mind. It's not just a coffee mug, it's a work of art!


It's shoots like these where I really think DSLR video shines, intimate and organic shots that aren't too intrusive that they distract the subject. Hopefully I'll get to do more projects like this one.

I picked up a slide rail for this shoot, the opening shot is done with it, it's amazing how much just a little movement can add. The rail is only 1m (3.3ft) long but really that's all you need. I wound up ordering a mini jib as well but it didn't arrive in time for this shoot which is too bad, there are a few shots I think it really would have worked well with.

Early on in the planning phase I new that having an overhead view would help for the work on the wheel, instead of a GoPro I wound up buying a Sony Actioncam instead. I normally don't like Sony because of all of their proprietary stuff but in this case since they are trying to claw back some of the market from GoPro they are throwing a ton of quality into their camera. The Sony HDR-AS100 can shoot in a high quality 50Mbs mode which definitely helps, unfortunately you still seem to have little to no control over things like white balance or exposure but they are mean to be set and forget so what can you do.

And now without further adieu is the video, I suggest going full screen and turning on HD.


Later, once the artist bio video is cut, I'll post that video too.


Wednesday, August 13, 2014

Vive la film!

04 CP 50percent
Double exposure on a "Starlite" aka "Halina A1" on expired Kodak Portra 160

The pinhole camera thing got me excited about film again and my girlfriend started to get into it too. I have quite a collection of old TLR cameras going as well as some unique 35mm cameras. While I love digital there is still some things you just can't quite do, double exposures for starters, sure some claim to offer it as a feature but it just isn't quite right.

One cool trick I stumbled upon was "redscale" where you take and respool your film backwards on the roll so that you're shooting through the plastic instead of directly onto the emulsion. This makes the brown plastic film act like a filter, depending on how you expose the effect can range from very dramatic and almost monochrome to a subtle colour shift.


Redscale Olympus Wide 12 crop
~1955 Olympus Wide Kodak 400 Colour Film Redscaled

Redscale Olympus Wide 05
~1955 Olympus Wide Kodak 400 Colour Film Redscaled

With my film interest fully piqued I remembered a few years back a woman had been commissioned to sell off a camera collection of a gentleman who had passed away. Incidentally the first shot in the post is from one of the cameras I had picked up a few years ago. I decided to look her up again and see if she was still selling any of those cameras, as luck would have it she was and happened to have a sweet little 35mm rangefinder up on her Etsy site. I quickly snapped it up :)

Samoca Super 35mm Rangefinder

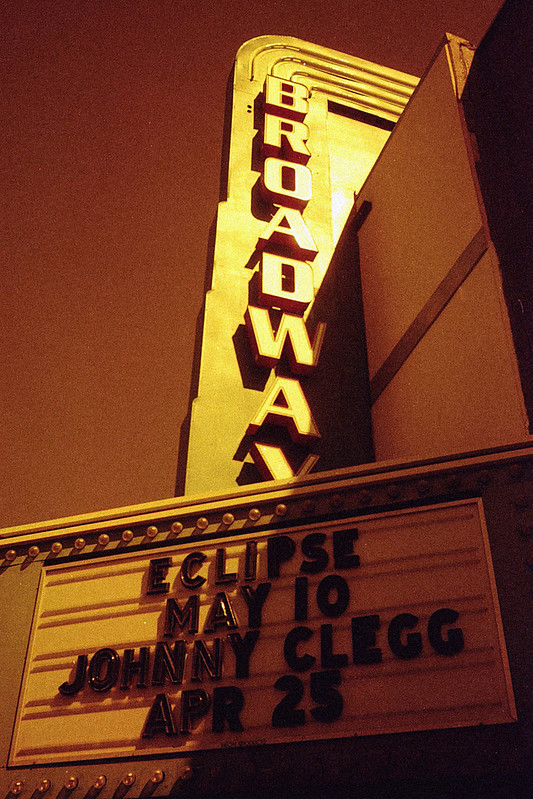
I forgot just how fun rangefinders could be, the next day I took it out on my lunch break and got some random shots around Broadway.

14
Samoca Super 35mm, Kodak 400 - Processed in Photoshop
10
Samoca Super 35mm, Kodak 400 - Processed in Photoshop

I then decided to dig out one of my half frame camera's that I had purchased years before, also from this same woman, but had never had a chance to test out. This was an Olympus Pen D which had a built in lightmeter but alas no rangefinding abilities so it was all focusing by the numbers. In case you don't know what a half frame camera is I'll explain, instead of taking one image within the frame it only uses half the frame and the orientation is portrait instead of landscape, this allows you to take twice the number of photos on a roll of film. When you get your photos printed you get two prints on each 4x6 and this can lead to some interesting diptychs.

37 38
Olympus Pen D - Half Frame Camera - Kodak Gold 400

25 26
Olympus Pen D - Half Frame Camera - Kodak Gold 400

This camera actually turned out to work pretty well, the light meter was actually pretty accurate all in all, my only issue with the camera is it seems to take forever to finish a roll :)

I'm going to leave with a few more of the shots I took with the Starlite twin lens reflex (TLR), I got this camera in basically mint condition, I doubt more than a few rolls were ever shot with it. Despite it being a cheaper model the shots turned out nice and sharp.


07 CP
06 CP

Next post will be about the wonderful world of Lomography and some of the coolest cameras I've ever used!

Tuesday, August 12, 2014

World Pinhole Day 2014

Pinhole 2014 - Roll 2 - 10

Another year and another excuse to dig out or build a new pinhole camera. This year I was even able to combine it a little with my job. The company I work for, Bamboo Shoots, creates video content centered around people and events within my province for one of our regional cable providers. One of the stories was focused around invention and we were able to slip in a DIY segment showing how to build a Dippold camera like the one I made a few years ago.

This year I finally ordered some very precise diopters which are normally used in electron microscopy, unfortunately they didn't arrive in time so I wound up using the same camera from my last build. If I don't somehow manage to lose the tiny diopters I'll try and build a new camera before the fall, if so I'll post the pics. If not there is always world pinhole day 2015 :)

Pinhole 2014 - Roll 2 - 06

I was really quite pleased with the sharpness of the shots I was able to get this year, I'm hoping with the new diopters they are even sharper.

I even managed to pull off a portrait, something that you usually can't do very well with a pinhole camera.

Pinhole 2014 - Roll 2 - 07

The borders that the camera produces were pretty cool too and it almost seems like in some there were some minimal light leaks.

Pinhole 2014 - Roll 2 - 08

My interest in film was sparked again, that anticipation of having to actually wait to see the photos instead of the instant gratification we're becoming so used to. I started digging out my old cameras and even acquired some new ones, more to film related posts to follow...

Friday, August 1, 2014

A vacation of vistas

[Group 10]-IMG_3234_IMG_3266-33 images 24x36 w vignette colour edit
Moraine Lake near Lake Louise Alberta

This post is very late but better late than never I guess. Last summer I took a road trip from Saskatoon to Victoria with stops along the way and visiting friends and family, nearly 4000km (~2500mi) round trip. I managed to get some photos that I really liked, some in infrared using my converted 10D and some using my 5D MK II.

My first stop between here and Victoria was in Banff, actually Two Jack Lake to be more precise which is across the highway from Banff. I met up with a few friends there and camped for a few days with them. Below is a photo that is pretty much from the edge of my campsite, despite being only 3 degrees Celsius the one night it was great waking up to this incredible view.

[Group 8]-IMG_5859_IMG_5904-46 images_0000 EDIT
Two Jack Lake, Alberta

Since we were right across the highway from Banff we did a few day trips into town, luckily my friends were very tolerant of my photo taking addiction and were ok waiting around here and there while I happily snapped away.
[Group 0]-IMG_5631_IMG_5676-46 images_0000 EDIT
[Group 2]-IMG_5682_IMG_5696-15 images_0000 EDIT
[Group 5]-IMG_3151_IMG_3174-24 images 12x36
[Group 35]-IMG_6386_IMG_6400-15 images_0000 EDIT LOMO No Vignette

We did another day trip to Lake Louise and Moraine Lake the latter being the lake that used to grace the back of the Canadian $20 bill.


[Group 21]-IMG_6162_IMG_6182-21 images_0000 EDIT Pano
[Group 24]-IMG_6207_IMG_6231-25 images_0000 EDIT LOMO
[Group 27]-IMG_6251_IMG_6258-8 images_0000 EDIT

Almost all of the photos I took on my trip are actually stitched composites of multiple photos, with the 5D this lead to some incredibly large photos, in the neighborhood of 150 Mega Pixels. The shot below shows a 100% crop of the water and you can actually make out the people in the canoe!


I didn't wind up taking many more photos as I moved on to Vernon BC and finally Victoria, spent more time visiting and really after the stunning scenery around Banff most of the other locations paled in comparison. I did stop in Horseshoe Canyon near Drumheller on my way back.
[Group 37]-IMG_6403_IMG_6406-36 images_0000 EDIT
That's it for this post, hopefully more to follow in the coming weeks as I try to catch up.