Showing posts with label camera. Show all posts

Tuesday, August 21, 2012

Old school pinhole fun


My customized Dippold pinhole camera

Earlier this year I promised myself I would not let yet another worldwide pinhole day (Apr 29 2012) pass me by. I was on track and managed to get two Dippold pinhole cameras made, however life managed to get in the way yet again and it wasn't until my summer holidays that I was able to take them out for some homemade fun.

Lets back up a little, years ago I had made the Dirkon which is another paper camera and it was really fun to put together. I can't remember why but I didn't have the best luck with it image wise, if I remember correctly the photos came out really blurry. I'm sure that was my fault in either user error or a construction error so don't write off the Dirkon prematurely. My Dirkon still resides in my display case because I did put a lot of time into building it. Given my prior issues and the desire to try something new I thought I'd try the Dippold version instead, it was quite easy to make and I even took it one step further by designing my own "skin" which will hopefully soon be available here or here (its the Pinstamatic skin).
Update: For the time being I'm hosting the skin on my dropbox account, grab yours here. Note: It was hard to fit it all on one sheet so some of the tabs to wrap around and glue are a bit small, the extra "leather" is provided so you can extend the tabs if needed.

One of the most crucial aspects to any pinhole camera is the pinhole itself. I made my own from brass shim stock and a pin. You'll need a very sharp pin and some fine grit sandpaper, 400 or higher should do. For my pin I used a long and narrow bulletin board pushpin (not the short fat style). There are various techniques online but here is what I found worked best for creating very tiny pinholes (I managed to get as small as a 0.14mm pinhole). The trick is you don't actually push all the way through, you press gently and essentially only form a tiny sharp little dent. Then you flip it over and sand the little bump away, flip it over and repeat until you finally break through.This method may be a bit tedious but its the only way I've found to get a very small hole that is very round and free of burrs.

Another solution for those less inclined to DIY is to purchase electron microscope aperture grids which are extremely precise and come in a variety of sizes (listed in microns). Here's a site that stocks them (you'll want the single hole version) but they come in a pack of 100 for ~$26. The Dippold design needs 200 micron apertures and the Dirkon needs 300 micron. Get a few friends and split an order and have enough to last you a lifetime :) I've yet to try these so if anyone does let me know in the comments section and post a link to your pics!

Measuring pinholes that are down to 0.2mm is a bit tricky. Luckily you can get a decent enough measurement by photographing your pinhole beside a ruler using any decent point & shoot camera in macro mode. Once you have the image, crop from the center of each of the mm markings on either side of your pinhole. Next use the measurement tool in either Photoshop or GIMP to determine how many pixels between mm markings and how many pixels across your pinhole is, divide the pinhole width in pixels by the overall width and there is your size in mm.


This pinhole worked out to about 0.32mm

As I wrote the above I realized that I had made a mistake with my pinhole size, initially I planned on making the Dirkon which required a 0.3mm pinhole so that's the size I made them. Later, due to time constraints, I opted to make the Dippold instead which is a lot simpler in its construction but needed 0.2mm pinholes. I'm not sure how much of a difference this made in the final image quality but I might have been able to get a bit sharper images had I used 0.2mm pinholes.
90670005
A pinhole image of the crooked trees near Hafford Saskatchewan (~3-4 second exposure, ISO400).

Enough about construction, more about the actual shoot...

With the last weekend of my holidays approaching I realized if I didn't squeeze a photoshoot in soon I wasn't going to get a chance. My last post was about newly IR converted Canon 10D from lifepixel.com,  aside from a quick "does this really work" shoot I hadn't had time to play with it. I texted a friend quickly to see if she was down for a road trip later in the week and the plans were laid. Initially when I'd made the two pinhole cameras for world pinhole day the second one was intended for her but both of our lives quickly became insanely busy so the sat unused.

90670003 colour corrected
My SK roadtrip buddy :)

One addition I'd made to the Dippold was to glue a 1/4 nut onto the bottom for attaching a tripod. My fellow pinholer however decided she wanted to use trees or the ground to brace her shots so we removed her mount. Without the tripod her results were a little more abstract but that's what pinhole is all about. For most people pinhole is about having fun and being artistic, not tack-sharp images and precision (unless by chance you have one of these).

A shot of me setting up for the first image in this post. Photo by Jackie Kripki

The trip was really fun, met some cool people and saw some interesting stuff along the way. My next post will have more pics from these sweet surreal locations and in infrared!



Sunday, February 12, 2012

Fuji X100, a dilemma of want vs need

DSCF8221-2
Testing the Fuji X100 with off camera flash - ISO200 f2 1/500s

Disclaimer: This is not a detailed camera review, those have already been done ad nauseum for this camera and better than I could do. Nope this is more along the lines of
Zack Arias's musings on the x100.


Nine days ago the portion of my brain that controls impulse was sleeping on the job and allowed me to drop a significant chunk of change on the Fuji X100. I'd been seeing advertisements here and there and reading the odd review in various photography magazines. I'll admit it, I have a huge softspot for retro items. When I started hearing about how great the image quality was out of the X100 and how it was using an APS-C sized sensor which up till now had only found homes in dSLRs my ears really perked up. By all accounts this was sounding like the camera I thought I'd bought when I picked up my G10. The issue with the G10 was that I always found myself packing a dSLR instead simply because as good as the images were out of the G10 they weren't good enough.

So having picked up the X100 I'm having mixed emotions, sure its cool and the photos it takes are very crisp, the f2.0 lens is sweet and the low light performance is encroaching on my 5DMKII's territory, but on the other hand the cost of it could have bought me a plane ticket to Europe. See I'm possibly going to Scotland this fall and the $1199.99 price tag could have gone a long way towards that trip.

Enter the 14 day return period, my plan is to put the camera through its paces and see if it holds up.

After picking up the camera I had to swing by my folks place to pick up a package I'd had delivered there. I wound up doing the unboxing over at their place so I quickly recruited my mom for a quick portrait shot by the window. I was immediately impressed by the image quality and shallow DOF that could be achieved from the f2.0 Fujinon Lens.

My mother poses for a quick test shot ISO100 f2 1/125s

So far so good. I'm digging the electronic viewfinder, the retro look already had me, but how does it work in the real world?

Its winter right now and honestly there wasn't much outside worth shooting, I did take the camera down to the local farmer's market where they had some ice sculptures on the display. The performance and ease of use was "ok", I'm really used to my Canon dSLRs so having an aperture ring and a horizontal shutter wheel alone were messing me up. I didn't manage to get any real note worthy shots so I'm not including any of those.

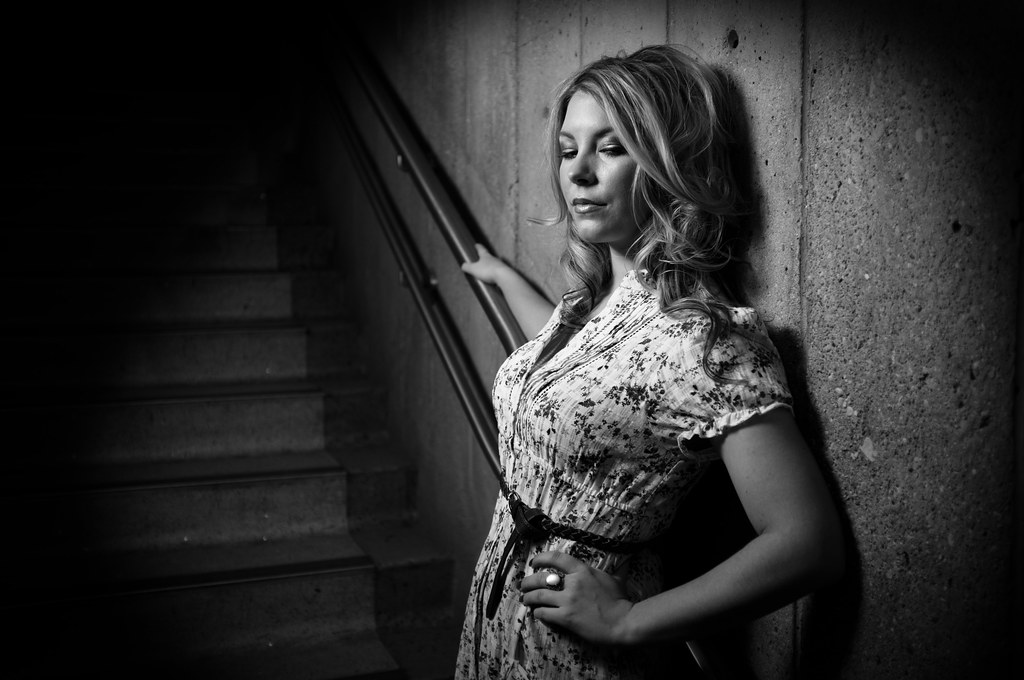
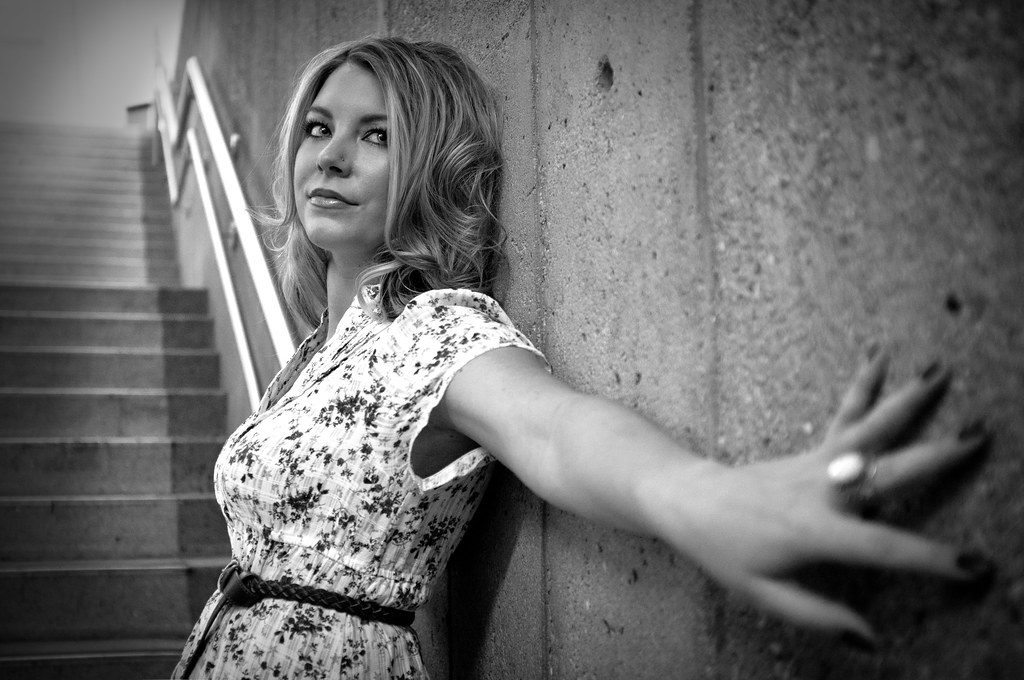
Before I knew it my first weekend with the camera was over and I hadn't really had much time or worthy subjects to shoot. During the work week I made plans to go out and shoot with a girl I've known for years and have done multiple shoots with. I chose her because besides being very photogenic I really don't have to think too much when I'm shooting her, we already have that rapport, leaving me able to focus on the camera. Another friend who'd just picked up a sweet vintage Yashica Lynx 14e (48mm 1.4 lens!!!) wanted to try it out too so he came as well.

The initial plan was to shoot downtown and just wander around finding locations as we went, however mother nature decided a cold snap was in order for this weekend and none of us relished an outdoor shoot. I decided the local University had enough locations where natural light was possible and that I'd bring a speedlite + umbrella along just in case.

The night before the shoot I realized I'd better try out my wireless triggers with the X100 just to make sure they worked. To my utter delight I found they not only worked but would sync up to 1/1000s thanks to the in-lens shutter! Apparently 1/4000s sync is possible with a cord as well. Sweet!

I'd already found that the high ISO noise performance was pretty amazing on this camera, producing useable images up to ISO3200. I'm not going to get into that here but this is a great post by someone else showing the low light performance with full res samples.

DSCF8204
Available light shot in a fairly poorly lit stairwell


DSCF8239-2
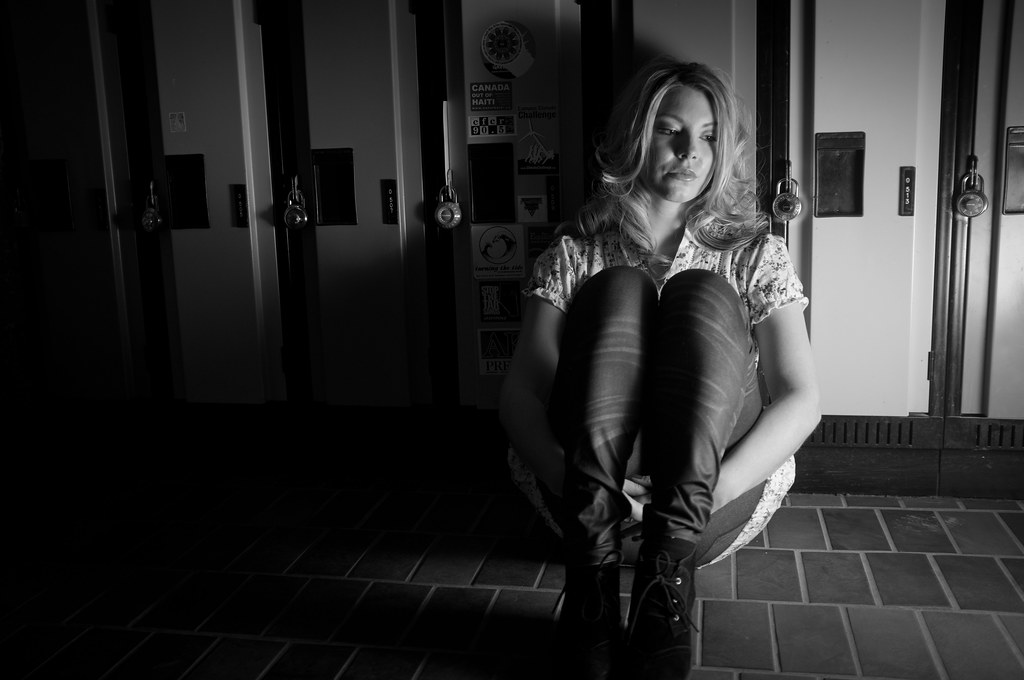
Trying some funky lighting out we took some shots by the lockers


DSCF8281-2
In the bright catwalk hi-key lighting seemed to work so I ran with it


DSCF8292-3
Strong sunlight provides natural backlighting while a white umbrella re-purposed as a reflector provides fill.

DSCF8302
A colour shot from the X100 since I just realized the rest were BW or cross processed

Once the shoot was done I reflected a little on the pros and cons. Focusing speed and accuracy still doesn't compare with a dSLR, I did find myself second guessing the focus often. I also wish there was a smart mode where the camera would automatically go into macro mode if the subject is just entering that focal length. Its a real pain when doing portraits because it seemed to me the distance I'd most often shoot at was riding the line between normal and macro modes. I did like how the fixed lens made me work a little more to get the composition I wanted.

I realized after the shoot that I'd spent the whole time at f2, I probably should have tried a bit more with a closed down aperture but I'm fairly confident that image clarity could only improve.

After editing the photos and pixel peeping I'm quite happy with the images. Its not going to replace my 5DMKII by any means and I probably won't use it on any paid gigs except maybe to take advantage of the high speed sync here and there. The fact that I won't use it much if at all for paid work is the main thing that I was having trouble with, if I can use a camera to make money its much easier to justify. That being said there isn't really much choice out there for a camera like this, really Leica is the only manufacturer that comes to mind that those are much harder to justify.

All in all I'm happy with this little slice of retro heaven. Sure it has some quirks and some of the settings/menus are awkward but the fact that I can have such great image quality in such a portable form factor makes up for it. I think this is going to be my new traveling companion. I always wind up leaving my 5DMKII at home when I travel just because I'm too paranoid about bringing it anywhere, especially humid climates. For my last number of trips I took my backup dSLR which is a Canon t2i and have been amazed at what its capable of, however lugging my camera bag and laptop around through airports left me wishing I had a more portable option.

For better or worse it looks like I'm going to keep this camera, I just wish I would have had it with me a month ago when I was in Cuba!

Sunday, August 22, 2010

Break from digital : A vacation to film land

Lubitel II Set1 - Index

I don't think I've really mentioned it much (if at all) here on my photo blog but I collect old and unique cameras. Every once it awhile I'll put down my digital cameras and pick up one of these to head out for a little film fun.

The majority of the older cameras I have are medium format TLR's and the odd box camera, there are a few 35mm exceptions like my elegant Werra 3 and the low fi Smena 8M.

It is when I have these cameras in hand that I remember how exciting taking photos was when I was a kid. Each frame was precious because you only had a finite number, no erasing unwanted photos or memory cards that allow for thousands of photos. There was always that feeling of anticipation as you waited to get the photos back from the lab wondering "did they turn out?" Or in some cases "I have know idea what's even on this roll" lol. The kids growing up in the digital age missed out on this (I feel old saying that and I'm only 29), don't get me wrong I love what digital sensors have given us in photography but it's also taken something away.

Today reminded me of that era and gave me a glimpse of that old excitement when I saw this camera while surfing the web:
(Photo from www.japantrendshop.com)

It's the Superheadz Blackbird Fly, a new 35mm TLR that hails from Japan. Other than Seagull I don't think any other company is producing new TLR cameras, sure there was that digital Rollieflex a few years back but at 2MP it was more of a joke than a real camera. These little Blackbird Fly's (aka BBF) are a little pricey at a touch over $100 but are cheaper than the medium format Seagull TLR. I like the fact that they shoot the readily available 35mm film, it's a little easier on the pocketbook compared to spending over $1 per photo with 120 film not counting the film itself. If you're shooting MF because of the higher detail negatives you're most likely shooting on a MF SLR or a higher end TLR anyway so 35mm makes sense for those of us just looking for some fun.

If you are however interested in the medium format route you can get into it on a fairly low budget. The Holga 120N is a cult classic in the field of lomography and can be had for under $50 if you look hard, Diana's (the inspiration for the Holga) are also still available and fit a shoestring budget. Some vintage cameras can be found on ebay or in your local antique shops, the Lubitel II and 166B made from bakelite instead of metal can generally can be had quite cheaply. Lastly, and not to be overlooked, the archaic yet still fully functional Kodak box cameras often sell in antique shops for around $10. The only piece of advice I'd offer when looking for vintage medium format cameras, assuming you want to shoot with them, is to make sure they shoot 120 film and not 620. It is possible to respool 620 onto the fatter 120 spools but its not the easiest process.


Another interesting little camera that is made by the same company is the Superheadz Golden Half which is quite unique itself. This is a throwback to yet another popular genre from yesteryear, a 35mm camera that only uses half a frame per photo netting you twice the pictures! A few years back I was trying to find something similar on Ebay and the vintage versions were fetching prices that were outside of my range. At just over $50 these are still a tad on the pricey side all considering however they are unique and since they're new you don't have to worry about buying one and finding the lens is covered in fungus ;)
(Image from http://kualalumpurcity.olx.com.my)


I ended up ordering an orange Blackbird Fly and a "black mountain" Golden Half, once I get them and put a roll through each I'll make another post reviewing my findings. At one point I'll dig all of my vintage cameras out, take their portraits, and write up a post about all of them too but that'll be down the road.
Align Center