Showing posts with label medium format. Show all posts

Tuesday, April 28, 2015

A 3D Printer for the Photographer


It's been awhile since my last post, life's been busy what can I say. Over the holidays I picked myself up a 3D printer (Merry Christmas to ME!) and have been having a blast with it. I've always been a tinkerer, always doing DIY stuff and fabricating dodads and thingamagigs I needed here and there. Now that I have a 3D printer this has opened up a whole world of possibilities that I never would have imagined. After much research I settled on the Printrbot Simple Metal and I opted for the kit version that I had to assemble myself. The kit version is a bit cheaper ($539 USD at the time) but I didn't choose it purely for the discount, from what I read online it's great to build it yourself so that if or when it breaks you know how to fix it.

My latest creation is the "PLAyPin" which is a 3D printed medium format pinhole camera, the name is a bad pun I'll admit, the PLA is short for Poly Lactic Acid which is the type of plastic filament most 3D printers use. I wanted to design my own partly just because I can :) and partly because the other designs out there (notably the P6x6 and the TerraPin) require very long print times. That's not to say their designs weren't fantastic, I think they're incredible. For my design I wanted to use the least amount of plastic as I could and I wanted to keep the design modular so that I could print the camera in steps, the longest of which takes 3.5hours and that is for the main body of the camera.


I've shared my design on thingiverse which if you have a 3D printer you'll already know of, it is a site where people post their designs so that other people can download and print them. Depending on the creative commons license you can often remix the design by making improvements or customizations as you see fit.

The great thing about 3d printing is a fast cycle between concept and a physical object, once I had my first print in hand I was able to see some areas of improvement and quickly implement them. Each part on this camera was thought out and has a function.

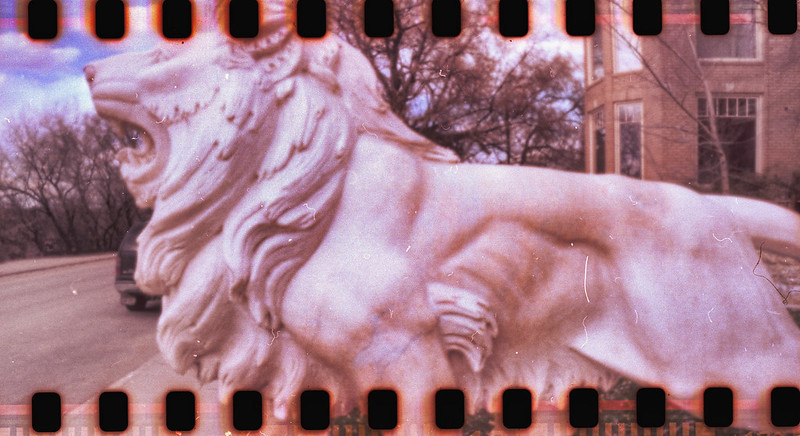
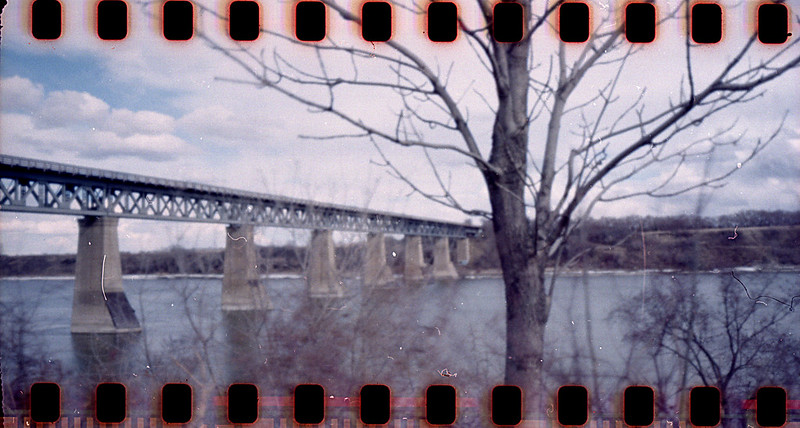
One thingiverse user posted these great adapters for shooting 35mm film in 120 cameras so for my test roll I shot 35mm since it's a lot cheaper :)
10 Colour

12 Colour

I scanned the roll using the Lomo Digitaliza which enabled my to preserve the sprocket holes. I was really happy with the results, probably some of my best pinhole shots to date as far as clarity goes. The pinhole I was using was actually a 300micron aperture for an electron scanning microscope, I purchased a bunch of these for $1 each from a guy on Flickr. The only tricky part is the apertures are in tiny copper discs that are only 3mm across so mounting them can be difficult. I should probably make a separate post at some point describing my process.

The PLAyPin is meant to shoot 120 film so it required a viewing window on the back to allow you to see the film numbers on the paper back. To accomplish this I picked up a sample pack of Lee filter gels and used the #26 red. While I did incorporate a nifty hinged window cover I still put black gaffers tape over the window when shooting 35mm just to be safe.

I have a few other photography related 3D printed items I've been working on and I'll try and post them soon.

Cheers

Wednesday, August 13, 2014

Vive la film!

04 CP 50percent
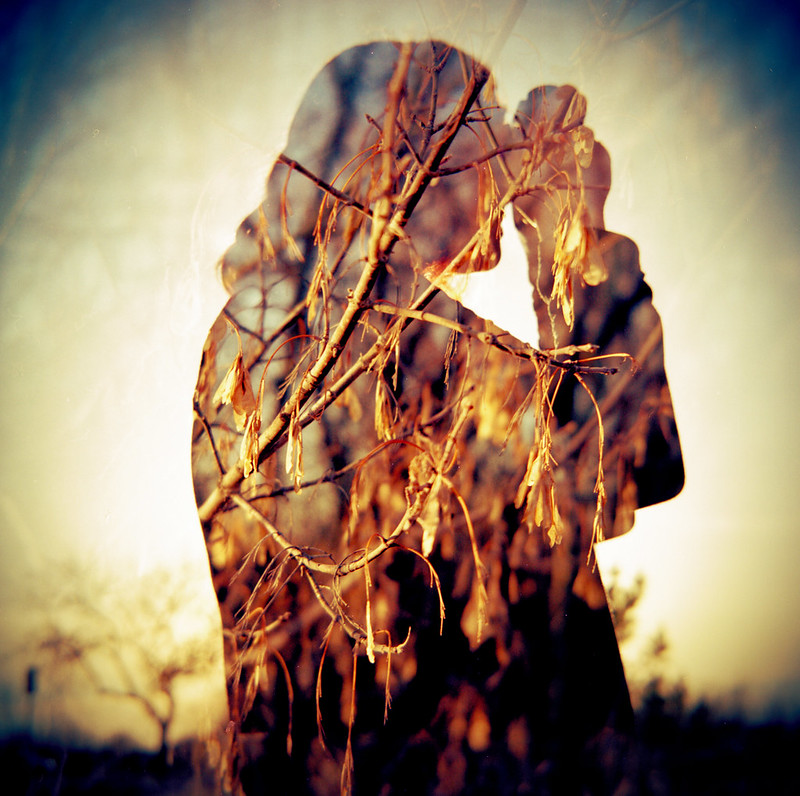
Double exposure on a "Starlite" aka "Halina A1" on expired Kodak Portra 160

The pinhole camera thing got me excited about film again and my girlfriend started to get into it too. I have quite a collection of old TLR cameras going as well as some unique 35mm cameras. While I love digital there is still some things you just can't quite do, double exposures for starters, sure some claim to offer it as a feature but it just isn't quite right.

One cool trick I stumbled upon was "redscale" where you take and respool your film backwards on the roll so that you're shooting through the plastic instead of directly onto the emulsion. This makes the brown plastic film act like a filter, depending on how you expose the effect can range from very dramatic and almost monochrome to a subtle colour shift.


Redscale Olympus Wide 12 crop
~1955 Olympus Wide Kodak 400 Colour Film Redscaled

Redscale Olympus Wide 05
~1955 Olympus Wide Kodak 400 Colour Film Redscaled

With my film interest fully piqued I remembered a few years back a woman had been commissioned to sell off a camera collection of a gentleman who had passed away. Incidentally the first shot in the post is from one of the cameras I had picked up a few years ago. I decided to look her up again and see if she was still selling any of those cameras, as luck would have it she was and happened to have a sweet little 35mm rangefinder up on her Etsy site. I quickly snapped it up :)

Samoca Super 35mm Rangefinder

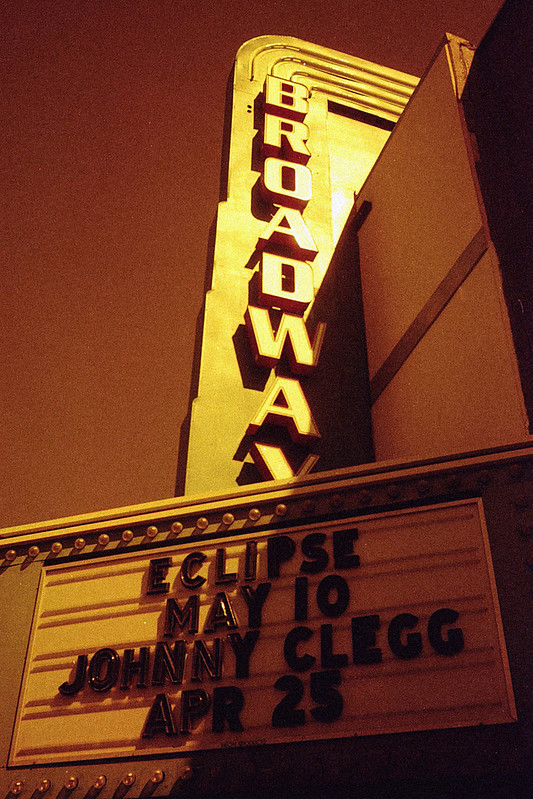
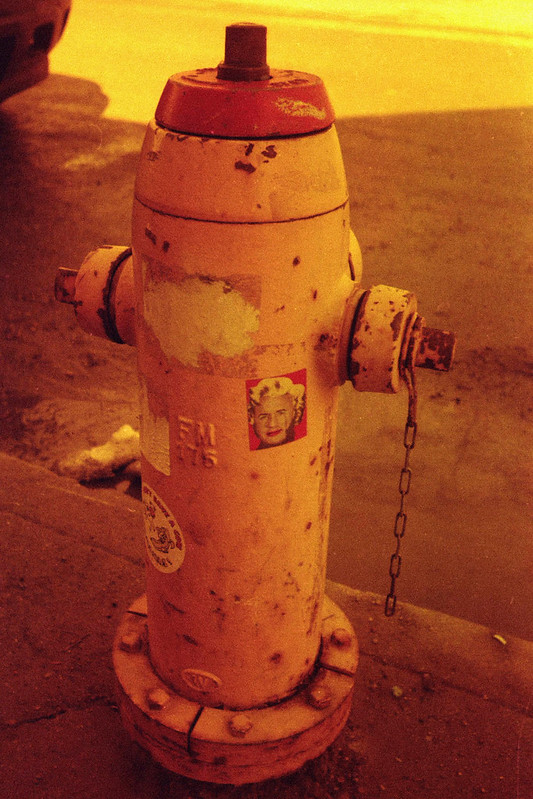
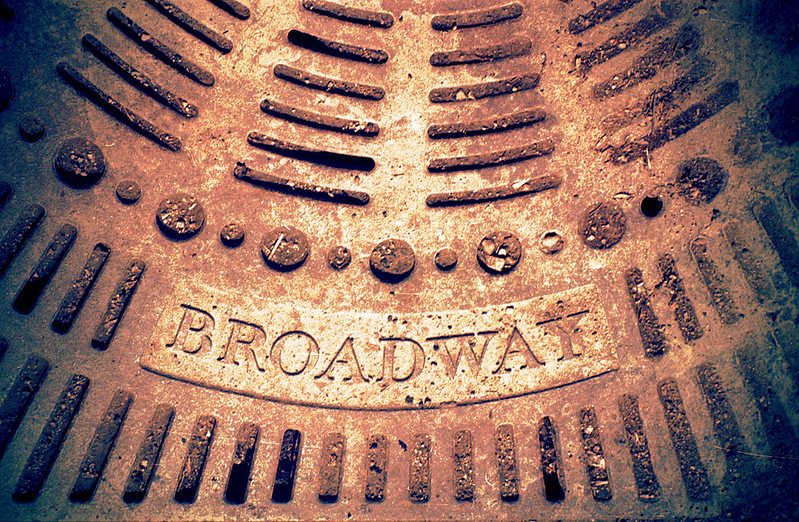
I forgot just how fun rangefinders could be, the next day I took it out on my lunch break and got some random shots around Broadway.

14
Samoca Super 35mm, Kodak 400 - Processed in Photoshop
10
Samoca Super 35mm, Kodak 400 - Processed in Photoshop

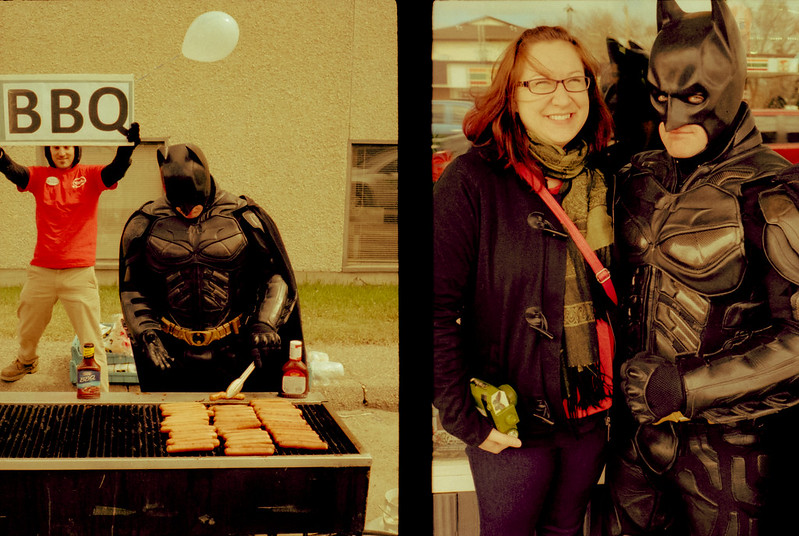
I then decided to dig out one of my half frame camera's that I had purchased years before, also from this same woman, but had never had a chance to test out. This was an Olympus Pen D which had a built in lightmeter but alas no rangefinding abilities so it was all focusing by the numbers. In case you don't know what a half frame camera is I'll explain, instead of taking one image within the frame it only uses half the frame and the orientation is portrait instead of landscape, this allows you to take twice the number of photos on a roll of film. When you get your photos printed you get two prints on each 4x6 and this can lead to some interesting diptychs.

37 38
Olympus Pen D - Half Frame Camera - Kodak Gold 400

25 26
Olympus Pen D - Half Frame Camera - Kodak Gold 400

This camera actually turned out to work pretty well, the light meter was actually pretty accurate all in all, my only issue with the camera is it seems to take forever to finish a roll :)

I'm going to leave with a few more of the shots I took with the Starlite twin lens reflex (TLR), I got this camera in basically mint condition, I doubt more than a few rolls were ever shot with it. Despite it being a cheaper model the shots turned out nice and sharp.


07 CP
06 CP

Next post will be about the wonderful world of Lomography and some of the coolest cameras I've ever used!